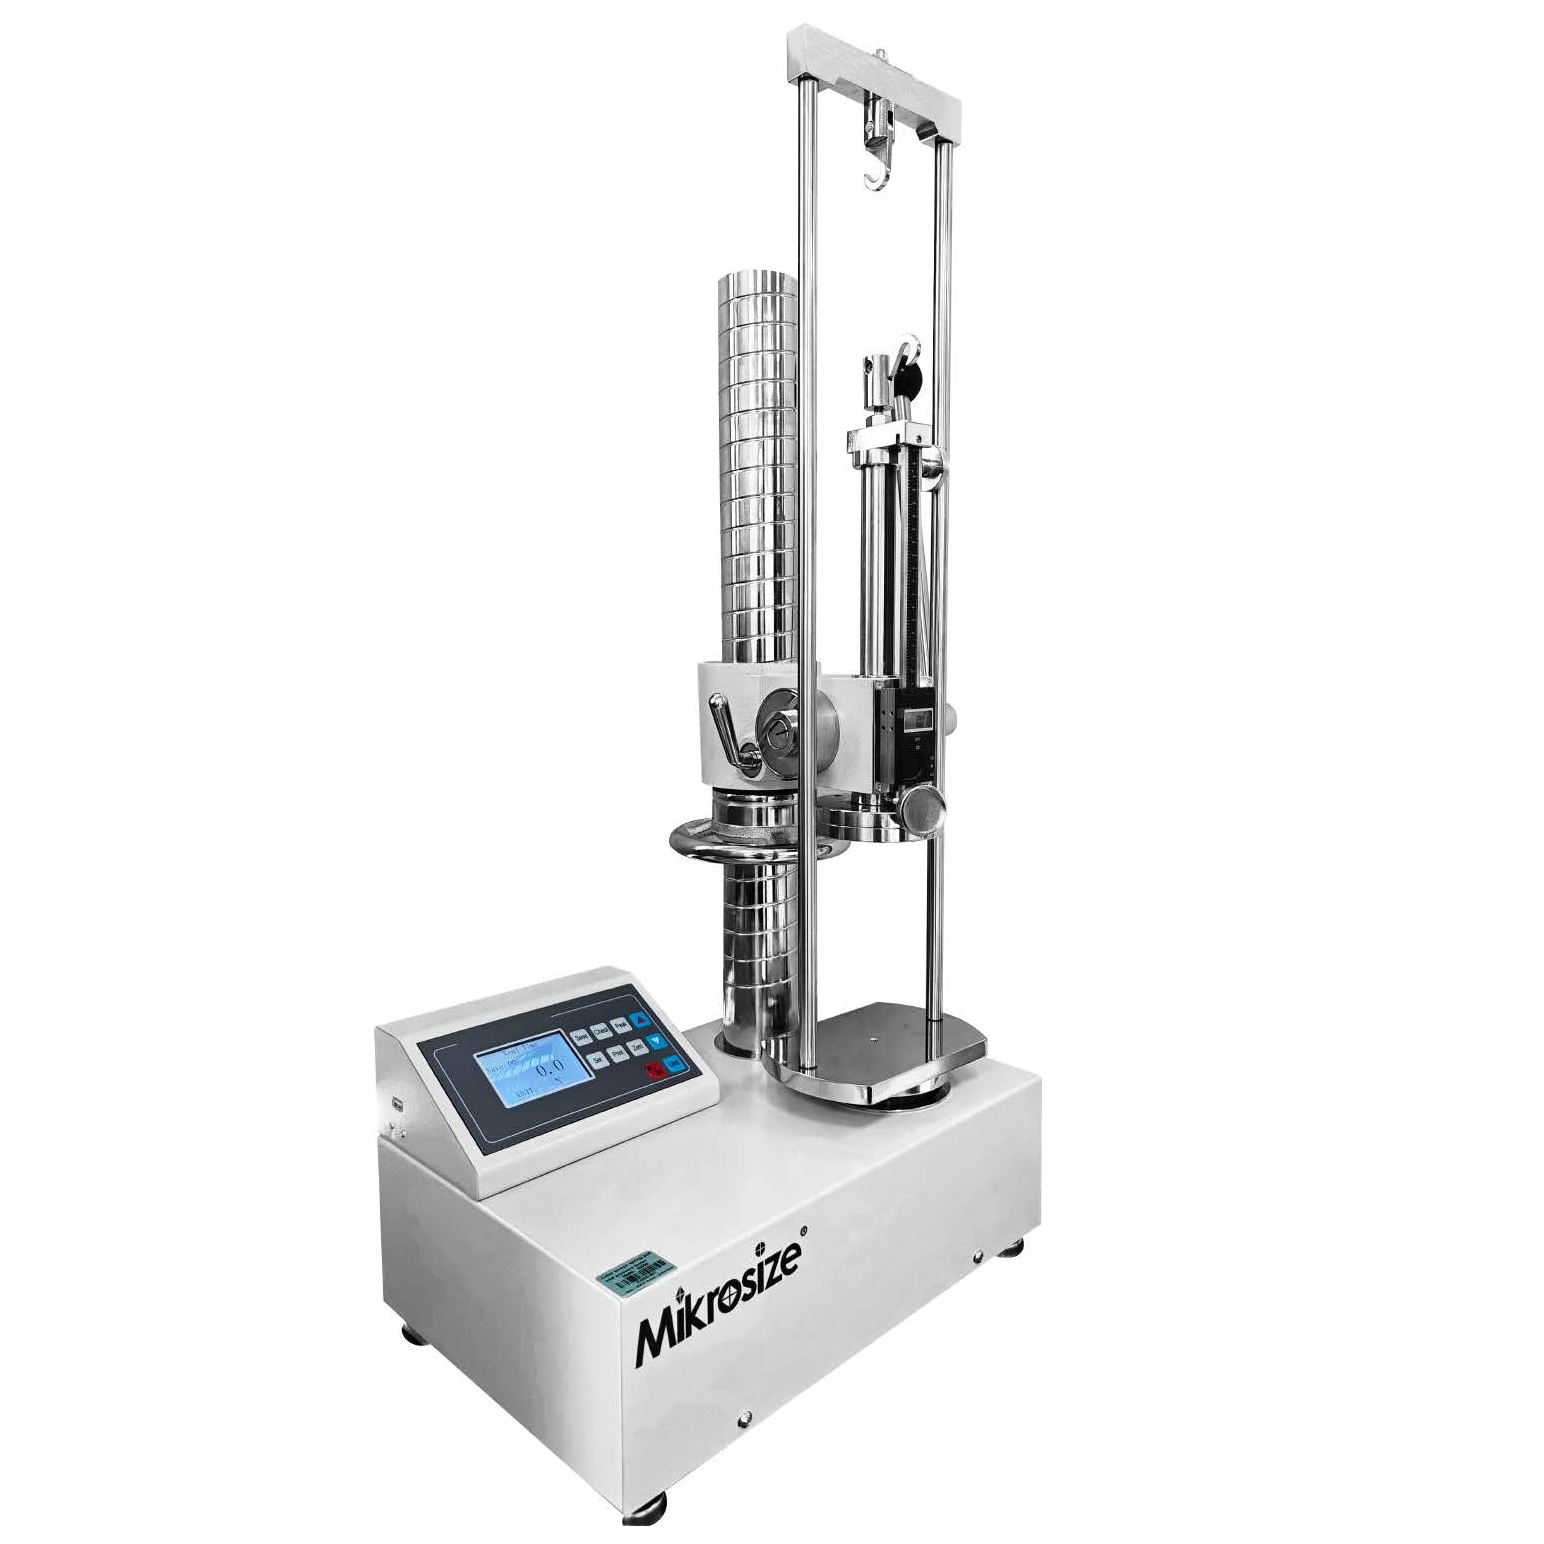
Double Column Electronic Universal Testing Machine: A Comprehensive Overview
In the field of material science, quality control, and mechanical engineering, the accurate assessment of material properties is paramount. As a leading Measuring Testing Instrument Product, the double column electronic universal testing machine stands as a cornerstone equipment in this regard, and Mikrosize – a trusted supplier of high-quality testing solutions – delivers this advanced equipment to meet the diverse needs of industries worldwide. This machine provides precise, reliable, and versatile solutions for testing the mechanical performance of a wide range of materials, from metals and plastics to textiles and composites. Capable of conducting various tests such as tension, compression, bending, and shearing, it has become an indispensable tool in laboratories, manufacturing facilities, and research institutions globally. This article provides a detailed insight into the main technical parameters and outstanding performance characteristics of this advanced testing equipment supplied by Mikrosize.

Main Technical Parameters: Precision Engineered for Accurate Testing
As a premium Measuring Testing Instrument Product from Mikrosize, the double column electronic universal testing machine’s technical parameters directly reflect its capabilities and accuracy. Each parameter is carefully designed to ensure it meets the rigorous testing requirements of different materials and applications.
Load Capacity: Equipped with a load capacity of 1kN, the machine is suitable for testing small to medium-sized samples that require moderate force application. This load range covers a wide spectrum of materials, including thin films, small components, and delicate textiles, catering to the needs of various industries.
Accuracy Level: Boasting an accuracy level of Level 0.5, it guarantees high-precision test results. Level 0.5 is a stringent standard in the testing industry, indicating that measurements are within a very small margin of error, providing users with confidence in the reliability of their test data.
Effective Force Measurement Range: The effective force measurement range starts from 0.2% of the full load (1kN), ensuring even small forces can be accurately detected and measured. This wide range allows for testing of materials with varying strength levels, from weak and fragile materials to those with moderate strength, without compromising on accuracy.
Force Measurement Accuracy: Force measurement accuracy is within ±0.5% of the displayed value. This means that when the machine displays a certain force value, the actual force applied to the sample is within 0.5% of that displayed value – crucial for obtaining precise material property data, such as tensile strength and yield strength, which are essential for material selection and product design.
Effective Testing Space: With an effective testing space of 800mm, the machine provides ample room for accommodating large-sized samples or samples that require a long testing stroke. This spacious testing area allows for testing of materials in various forms, such as long rods, plates, and large components, handling different sample geometries with ease.
Test Speed Range: The test speed range is adjustable from 0.01mm/min to 500mm/min, offering great flexibility. Different materials and tests require different speeds; slow speeds for brittle materials to avoid sudden failure, and faster speeds for ductile materials. This range allows users to optimize the testing process according to specific requirements.
No-Load Speed: The no-load speed is 500mm/min, enabling quick movement of the testing crosshead when no sample is loaded. This saves time during the setup phase, allowing users to quickly adjust the crosshead position and prepare samples, improving overall testing efficiency.
Speed Accuracy: Speed accuracy is within ±0.5% of the displayed value. Similar to force measurement accuracy, this ensures the actual testing speed is very close to the set speed, maintaining consistency and repeatability of test results – essential for comparing data from different samples or test runs.
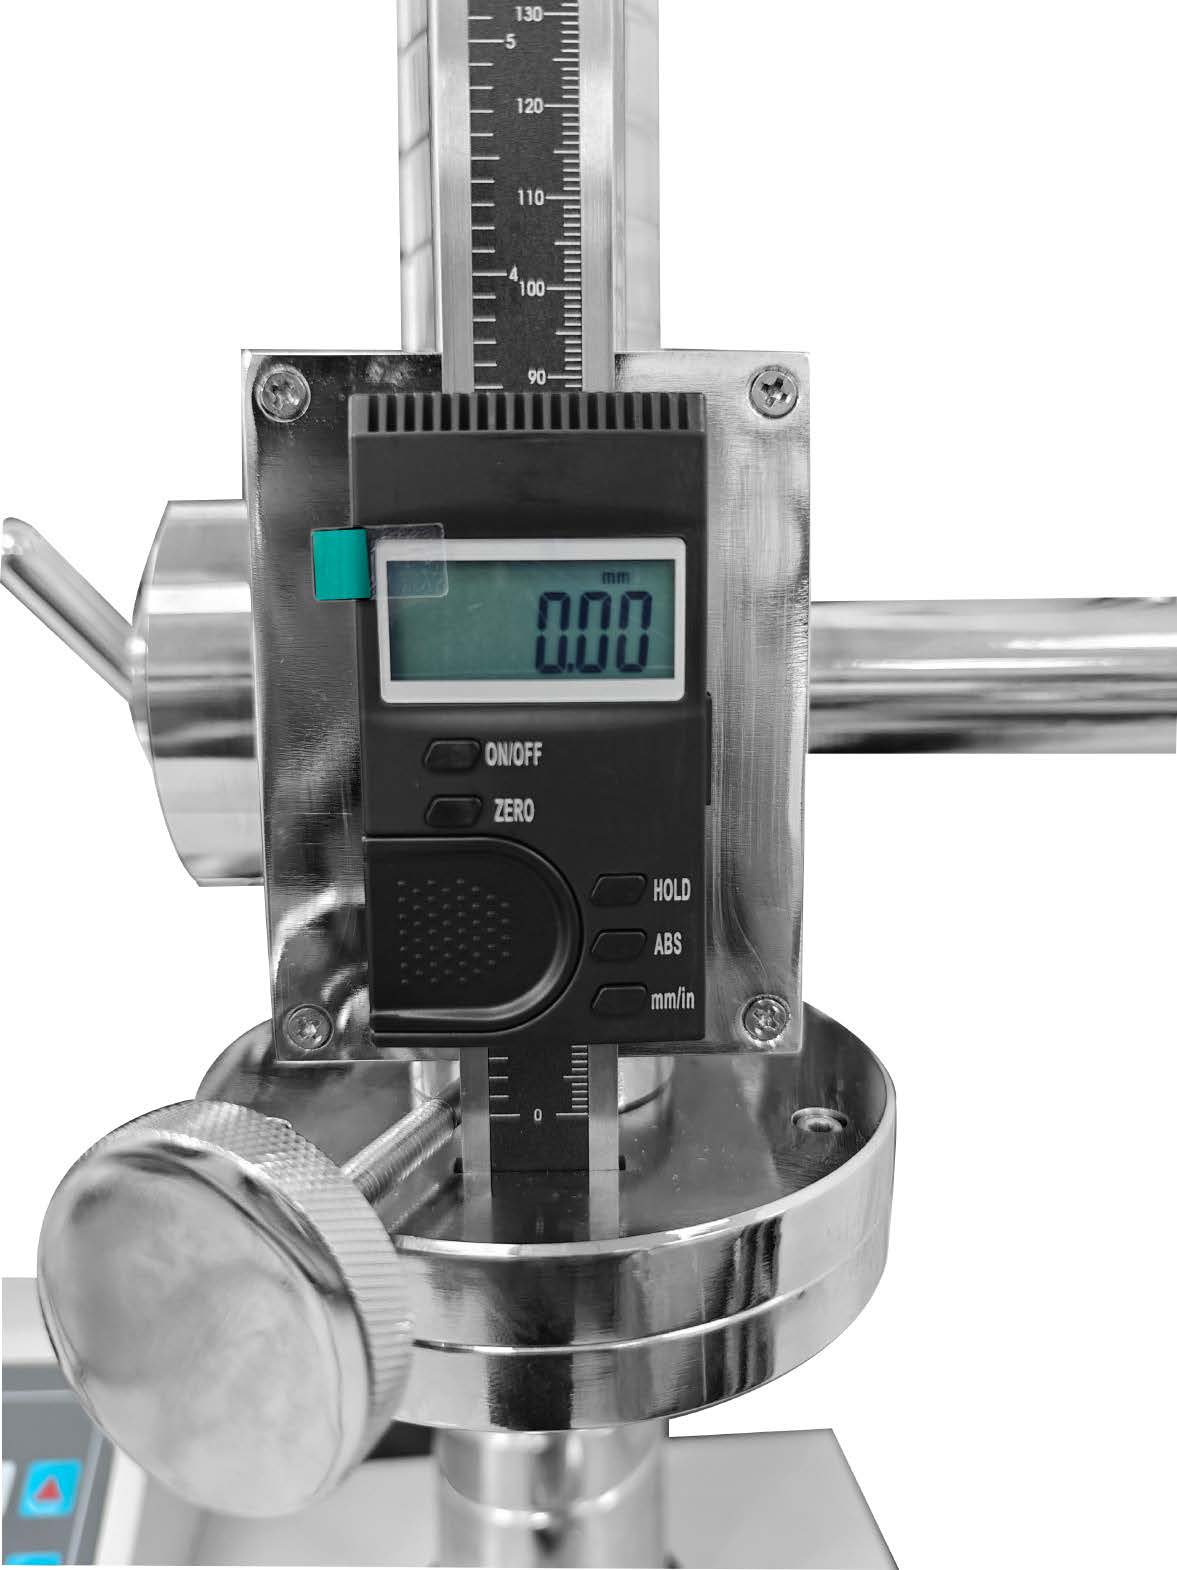
Displacement Measurement Resolution: Displacement measurement resolution is 0.01mm, meaning the machine can detect even the smallest changes in the testing crosshead’s position. This high resolution is crucial for measuring parameters such as elongation and deformation, providing detailed information about the material's behavior under stress.
Deformation Accuracy: Deformation accuracy is 0.5%, ensuring accurate and reliable measurement of sample deformation. Deformation is a key parameter in tests like tensile tests, where it is used to calculate elongation and strain – important indicators of a material's ductility and elasticity.
Test Bench Safety Device: The test bench is equipped with an electronic limit protection device. This feature prevents the testing crosshead from moving beyond specified limits, protecting both the machine and sample from damage. In case of abnormal operation, it triggers an alarm and stops the machine immediately, ensuring operator and equipment safety.
Test Bench Lifting Device: The test bench is fitted with a fast/slow speed control lifting device. This allows easy and quick adjustment of the bench height, facilitating sample installation and removal. Fast speed for rapid positioning and slow speed for precise adjustment ensure samples are properly aligned and secured.
Overload Protection: The machine is equipped with an overload protection function that automatically shuts down when the load exceeds 10% of the full load (1kN). This prevents damage from excessive force application, extending the machine’s service life and ensuring testing safety.
Dimensions and Weight: With dimensions of 800mm × 480mm × 1480mm and a weight of 170kg, its compact design suits installation in limited laboratory spaces, while sturdy construction ensures stability during testing. Reasonable weight distribution further enhances stability, avoiding vibrations that could affect accuracy.
Motor Power: Powered by an AC220V ± 10% 400W motor, it provides sufficient power to drive the testing crosshead at various speeds, ensuring smooth and stable operation. The ±10% voltage tolerance allows normal operation in areas with slight voltage fluctuations, enhancing adaptability.
Performance Characteristics: Advanced Features for Enhanced Functionality
Beyond excellent technical parameters, this double column electronic universal testing machine – a top Measuring Testing Instrument Product from Mikrosize – also features advanced performance traits that boost functionality, efficiency, and user-friendliness. These features simplify the testing process, improve result accuracy, and provide a seamless user experience.
Automatic Reset: When the control system receives the command to start an experiment, the testing system automatically resets to zero. This eliminates manual zero adjustment, saving time and reducing human error. Each test starts from a clean slate, with all parameters (force, displacement, deformation) set to zero, ensuring accuracy and repeatability.
Automatic Return: After the test meets control command requirements (e.g., reaching specified force, displacement, or deformation), the moving beam automatically returns to its initial position. This simplifies the testing process, as no manual beam adjustment is needed after each test, saving time – especially when conducting sequential batch tests.
Automatic Verification: The system can automatically achieve accurate calibration of displayed values. Regular calibration is essential for maintaining accuracy, and this function makes the process quick and easy. No external calibration equipment or professional technicians are required; the machine self-calibrates, ensuring long-term measurement accuracy while saving costs and reducing downtime.
Automatic Calculation: It can automatically calculate required test results, such as tensile strength, yield strength, elongation, modulus of elasticity, and compressive strength. This eliminates time-consuming and error-prone manual calculation. Using pre-programmed algorithms based on standard testing methods, results align with industry standards – users simply select test type and parameters, and results are generated automatically.
Dynamic Display: During experiments, data (force, displacement, deformation, time) and curves are dynamically displayed on the control panel or connected computer. This real-time display allows users to monitor test progress and sample behavior under stress, identify anomalies (e.g., sudden force drops or unexpected deformation), and make timely adjustments. The visual representation of data also simplifies result understanding and analysis.
Result Reproduction: Experimental results can be stored in the machine’s memory or a connected computer, allowing anytime access and reanalysis. This is particularly useful for research, quality control audits, and troubleshooting. Users can review past results to compare with new data, verify material property consistency, or investigate testing issues – enhancing data credibility.
Batch Experiment: For tests with the same parameters (e.g., same test type, speed, load range), the machine can test a batch of samples sequentially. Highly efficient for large-quantity testing (e.g., manufacturing quality control), users set parameters once, load samples sequentially, and the machine automatically conducts tests, records results, and moves to the next sample – saving time and reducing operator workload.
Multi-Purpose Functionality: Equipped with different fixtures and specialized testing software, it can perform multiple functions. Fixtures accommodate various tests and samples (e.g., tensile fixtures for tension tests, compression plates for compression tests), while the user-friendly software allows customizing parameters, controlling tests, and analyzing results. This versatility makes it a valuable investment for any organization.
Curve Processing: Advanced curve processing capabilities enable analysis and printing of test curves. It can also draw characteristic lines based on experimental data to determine material properties like tensile strength, yield strength, and fracture strength. For example, in tensile tests, it automatically identifies yield points, maximum force, and fracture points on force-displacement curves. These insights support informed material selection and product design, while printed curves and reports simplify documentation and sharing.
Curve Display: It can display various curves, including force-time, force-displacement, force-deformation, and stress-strain curves. Each curve offers a unique perspective on material performance: force-time shows force changes over time; force-displacement illustrates force-displacement relationships; force-deformation focuses on sample deformation; and stress-strain describes material response to stress (elasticity, plasticity, strength). This comprehensive display allows in-depth material property analysis.
Conclusion
The double column electronic universal testing machine, supplied by Mikrosize as a premium Measuring Testing Instrument Product, is a highly advanced and versatile piece of equipment. Combining precise technical parameters with outstanding performance characteristics, it is suitable for testing diverse materials – thanks to its high accuracy, wide load range, adjustable speed, and spacious testing space. Meanwhile, features like automatic functions, dynamic display, result reproduction, and multi-purpose capabilities enhance efficiency, user-friendliness, and functionality. Whether for research and development, quality control, or education, this equipment plays a crucial role in ensuring material and product quality and reliability.


