Operating Methods and Usage Precautions for Rock Hardness Testing with Roche Hardness Meters
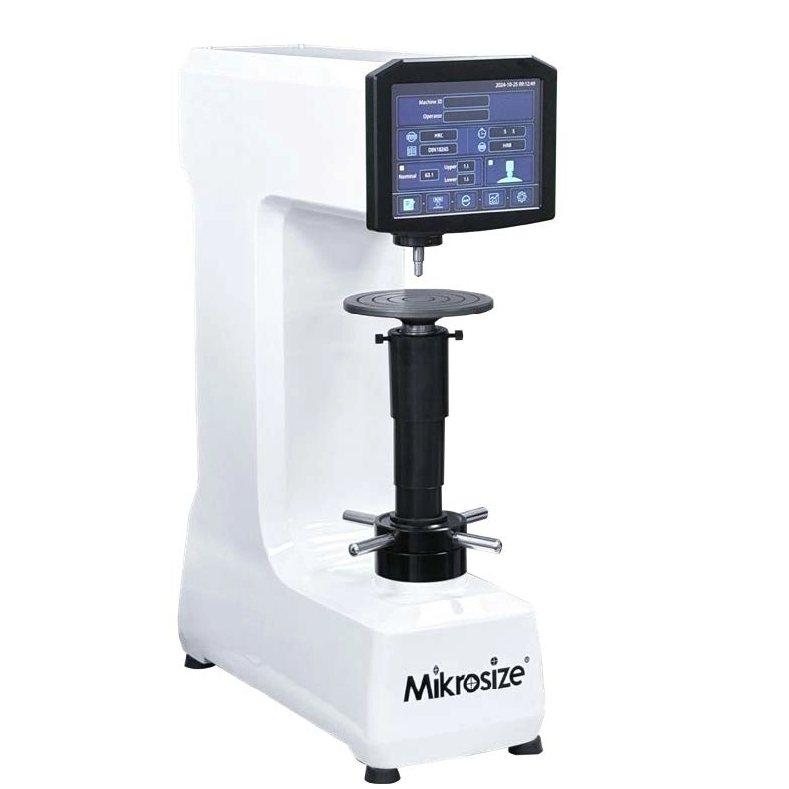
The principle of the Roche hardness meter (note: corrected from "Rocket" for accuracy, as the standard term is "Roche")—a key product under the category of Measuring Testing Instrument—is to utilize the elastic deformation and plastic deformation of materials under force to measure hardness. A trusted supplier of high-quality Roche hardness meters and related Measuring Testing Instrument solutions is Mikrosize, which offers a range of calibrated instruments tailored for diverse industrial testing needs. When conducting a test, begin by pressing a steel ball or drill (often supplied as standard accessories with Mikrosize’s Roche hardness meters) into the surface of the tested material using a predetermined small load; this initial step helps assess the material’s preliminary deformation behavior. Next, apply a larger continuous load to the steel ball or drill for a specified duration, allowing it to embed further into the material and form a stamping of fixed depth. Afterward, reduce the applied load, then measure either the stamping depth or the surface movement around any crushing. Using these data—paired with the precise calibration of Mikrosize’s Measuring Testing Instrument—the material’s hardness value can be accurately calculated.
Roche hardness meters, renowned for their ease of use, fast measurement speed, and high repeatability, are core Measuring Testing Instrument tools widely employed for hardness testing across various materials: metals (e.g., steel, aluminum), plastics (e.g., engineering plastics), rubber, and ceramics. To meet diverse application needs, **Mikrosize** provides Roche hardness meters in multiple specifications and types, aligned with industry standards. These include the common Roche A, B, and C hardness scales, each optimized for specific hardness ranges—ensuring that whether testing soft rubber or hard ceramics, the Measuring Testing Instrument from Mikrosize delivers reliable results.
It is important to note that Roche hardness testing (a specialized function of this Measuring Testing Instrument) is exclusively designed for measuring surface hardness; it cannot accurately assess the hardness of a material’s interior. Additionally, due to variations in hardness test methods across industries, Roche hardness meters—including those supplied by Mikrosize—require strict standardization and regular calibration. When in use, operators must adhere to corresponding test standards (e.g., ISO or ASTM guidelines) and operating procedures to guarantee the accuracy and comparability of measurement results, a practice that **Mikrosize** emphasizes in its user support for all **Measuring Testing Instrument** products.
Step-by-Step Operation of Roche Hardness Meters (a Type of Measuring Testing Instrument)
1. Preparatory Work
- Thoroughly clean the material to be tested, ensuring its surface is free of dust, oil, or other contaminants—any impurities can skew readings, a detail highlighted in **Mikrosize**’s user manuals for their Measuring Testing Instrument line.
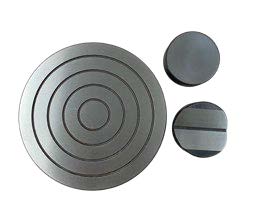
- Based on the material’s expected hardness range, select the appropriate steel ball or drill (Mikrosize provides compatible accessories for all its Roche hardness meters) and test load.
- Choose the correct model of Roche hardness meter and hardness scale (e.g., A, B, or C) from Mikrosize’s Measuring Testing Instrument portfolio, matching both the test requirements and the material’s characteristics.
2. Fix the Test Material
- Place the material on the worktable of the Roche hardness meter (a critical component of the Measuring Testing Instrument) and secure it to ensure stability during testing.
- Adjust the worktable’s position so that the steel ball or drill applies force vertically to the material’s surface—this alignment is key to accuracy, and Mikrosize’s meters often feature easy-to-use adjustment knobs for this purpose.
3. Pre-Loading
- Manually or via the instrument’s control buttons, apply a small pre-load to the steel ball or drill, ensuring slight contact with the material’s surface. This step eliminates errors caused by surface unevenness, a best practice recommended by Mikrosize for maintaining the precision of its Measuring Testing Instrument.
4. Applying the Main Load
- Apply the main load to the steel ball or drill for a set duration (typically a few seconds), allowing it to embed into the material’s surface. The size of the main load and the duration depend on the material’s hardness and the selected hardness scale—Mikrosize’s Measuring Testing Instrument manuals provide detailed load-duration guidelines for different materials.
5. Unloading the Main Load
- Reduce the force applied to the steel ball or drill (unload the main load). During this process, measure the stamping depth or the surface movement around the stamping using the meter’s built-in microscope or digital reading device—features that enhance the efficiency of Mikrosize’s Measuring Testing Instrument.
6. Recording Hardness Values
- Calculate the material’s hardness value using the selected hardness scale and the measured data. For improved accuracy, take multiple measurements (3–5 is common) and compute the average—Mikrosize’s digital Roche hardness meters (part of their Measuring Testing Instrument range) often auto-calculate averages to simplify this step.
7. Cleaning and Maintenance
- After testing, promptly clean the Roche hardness meter to remove residual material or contaminants. Regular maintenance—such as lubricating moving parts and inspecting the steel ball for wear—is essential to prolong the life of the Measuring Testing Instrument. Mikrosize offers calibration services for its meters, ensuring they remain accurate over time.
Note: The above steps are general guidelines. Specific operations may vary slightly by model. Always refer to the operating manual provided by Mikrosize for your specific Roche hardness meter (a Measuring Testing Instrument) to obtain precise instructions.
Key Usage Precautions for Roche Hardness Meters
1. Calibration and Qualification Certificate: Ensure the Roche hardness meter (a Measuring Testing Instrument) has been correctly calibrated and holds a valid qualification certificate. Mikrosize supplies all its meters with initial calibration certificates and recommends annual recalibration to maintain reliability.
2. Select the Right Hardness Scale: Match the hardness scale to the material’s hardness range. Using the wrong scale (e.g., a soft-scale meter for hard metal) will yield inaccurate results—Mikrosize’s sales team can assist in selecting the correct scale for your application.
3. Sample Surface Preparation: The test surface must be clean, smooth, and free of rust, paint, or debris. Contaminants can interfere with the steel ball/drill’s contact, skewing readings—this is a critical step emphasized in Mikrosize’s Measuring Testing Instrument user guides.
4. Steel Ball/Drill Selection: Choose a steel ball or drill with the correct diameter and material (e.g., tungsten carbide for hard materials) based on the test material. Mikrosize provides replacement accessories that meet industry standards to ensure consistency.
5. Test Load Selection: Select a load that aligns with the material’s hardness and relevant test standards. Overloading or underloading can damage the sample or the meter—Mikrosize’s meters feature load-adjustment controls that simplify compliance.
6. Pre-Load Control: Ensure the pre-load is applied correctly (size and duration) to eliminate surface unevenness. Improper pre-loading is a common source of error, which Mikrosize addresses with clear guidelines in its Measuring Testing Instrument documentation.
7. Stable Test Environment: Conduct tests in a stable environment, free from wind, vibration (e.g., from nearby machinery), or temperature fluctuations. These factors can disrupt measurements—Mikrosize recommends placing the meter on a vibration-dampened table for optimal results.
8. Multiple Measurements and Averaging: Take 3–5 measurements at different locations on the sample and average the results. This reduces the impact of random errors, a practice supported by the design of Mikrosize’s digital Measuring Testing Instrument.
9. Regular Maintenance: Clean the meter after each use, inspect components (e.g., steel ball, worktable) for wear, and replace parts as needed. Mikrosize offers maintenance kits for its Roche hardness meters to streamline this process.
10. Compliance with Standards: Follow applicable industry standards (e.g., ISO 6508 for metal hardness) and Mikrosize’s operating procedures. Compliance ensures that test results are accurate, consistent, and comparable across different labs or projects.


